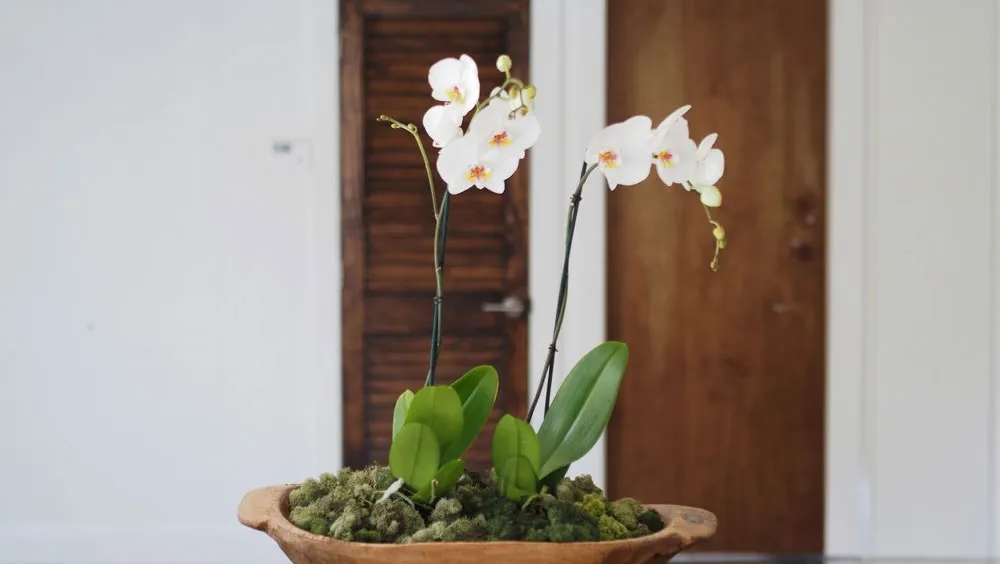

Orchids, often referred to as nature’s masterpieces, are celebrated for their ethereal beauty and exotic allure. These enchanting plants have captivated the hearts of countless gardeners and plant enthusiasts with their stunning blooms and intriguing aerial roots. However, the time comes when your cherished orchid outgrows its current home, its roots entangling like a botanical work of art. When this happens, it’s not only an opportunity for rejuvenation but also a chance to connect with nature in a deeper, more intimate way.

In this guide, we will embark on a journey into the world of orchid repotting, focusing specifically on those delicate yet fascinating air roots. You’ll discover the secrets to nurturing and sustaining these enigmatic appendages, ultimately leading your orchid to thrive and flourish. Whether you’re a seasoned orchid aficionado or a green-thumb enthusiast about to embark on your orchid-growing adventure, this step-by-step tutorial will equip you with the knowledge and confidence to give your orchid a new lease on life.
Preparing to Repot Your Orchid
Gather Your Supplies:
Before you embark on the journey of repotting your orchid with air roots, it’s crucial to gather all the essential materials and tools you’ll need to ensure a successful transition for your beloved plant. Here’s a list of what you’ll require:
1. Orchid Pot: Select a pot that provides enough space for the orchid’s roots to grow comfortably. Opt for a pot with ample drainage holes to prevent waterlogging, as orchids despise soggy conditions.
2. Orchid Potting Mix: Choose a specialized orchid potting mix that promotes aeration and proper drainage. Orchids need a mix that allows air to circulate around their roots, such as orchid bark or sphagnum moss.
3. Pruning Shears or Scissors: These are necessary for trimming any dead or rotting roots, as well as any overgrown or damaged aerial roots.
4. Clean, Sterilized Workspace: Make sure your work area is clean and sterilized to minimize the risk of introducing harmful pathogens to your orchid during repotting.
5. Gloves: Wearing gloves can help protect your hands and minimize the transfer of oils and bacteria to the orchid.
6. A Container for Soaking: You’ll need a container or bucket to soak the orchid and its roots before repotting. Use distilled water or rainwater, as tap water might contain chlorine or minerals that can harm your orchid.
7. Labels and Marker: It’s a good practice to label your pots with the orchid’s name and the repotting date for future reference.
8. Paper Towels or a Clean Cloth: Have these handy for gently cleaning the orchid’s leaves and roots.
9. Root Hormone (optional): Root hormone can encourage root growth but is not always necessary.
10. Fertilizer (optional): Some orchid enthusiasts prefer to add a diluted orchid-specific fertilizer to their orchid’s new pot, but this step is optional.
Importance of a Clean and Sterilized Workspace:
A clean and sterilized workspace is vital to ensure the health of your orchid during the repotting process. Orchids are susceptible to diseases and pathogens, and introducing these to the freshly exposed roots can have detrimental consequences.
Before you begin, take the time to clean your workspace and sterilize your tools. You can use a diluted bleach solution (1 part bleach to 9 parts water) to sterilize your tools. Rinse them thoroughly and allow them to air dry before use. This precaution helps prevent the transmission of any harmful bacteria or fungi.


